
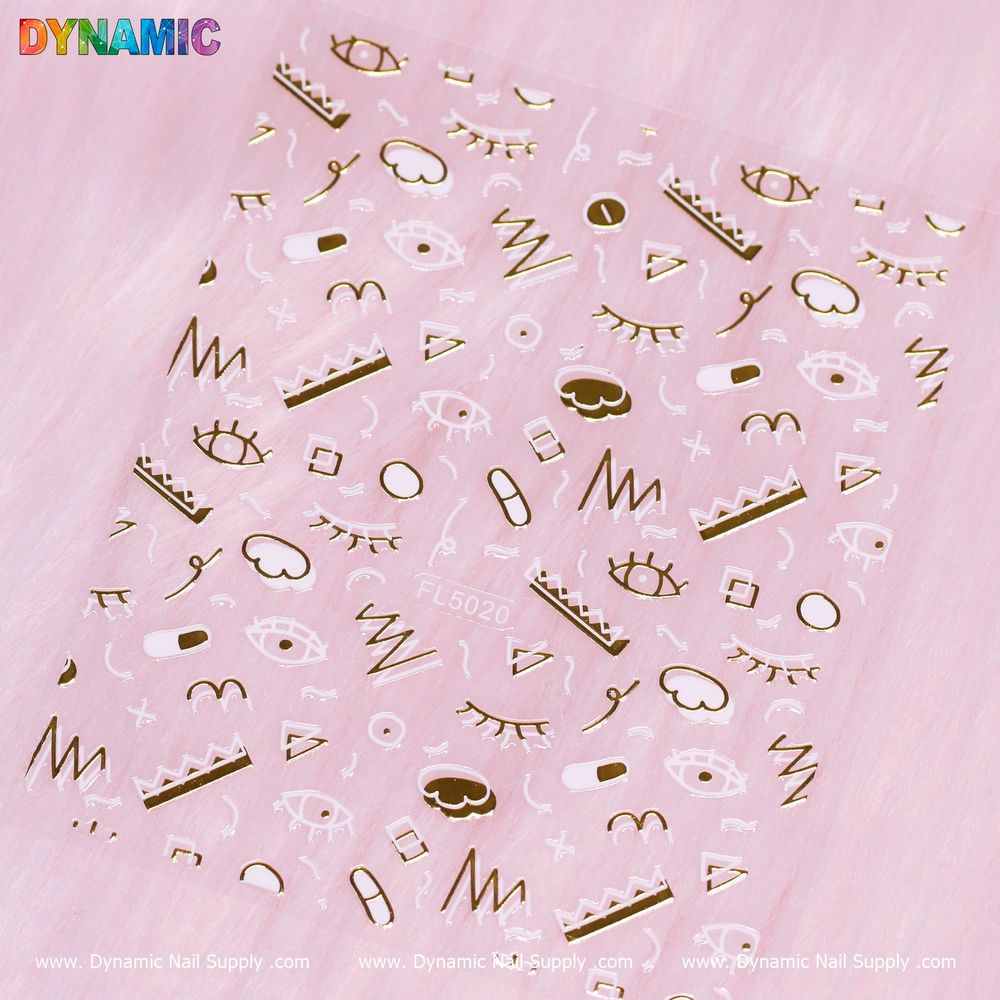
Hand-drawn nail stickers are an easy way to add playful, detailed accents—like cartoon eyes, gold highlights, white zigzags—to your manicure without advanced tools or steady brushes. This guide breaks down the terminology and walks you through a straightforward application so beginners can get salon-style results at home.
To see an example of this style and try it for yourself, consider the hand-drawn nail stickers pack hand-drawn nail stickers pack as an affordable starter option.
What “hand-drawn” means for nail stickers
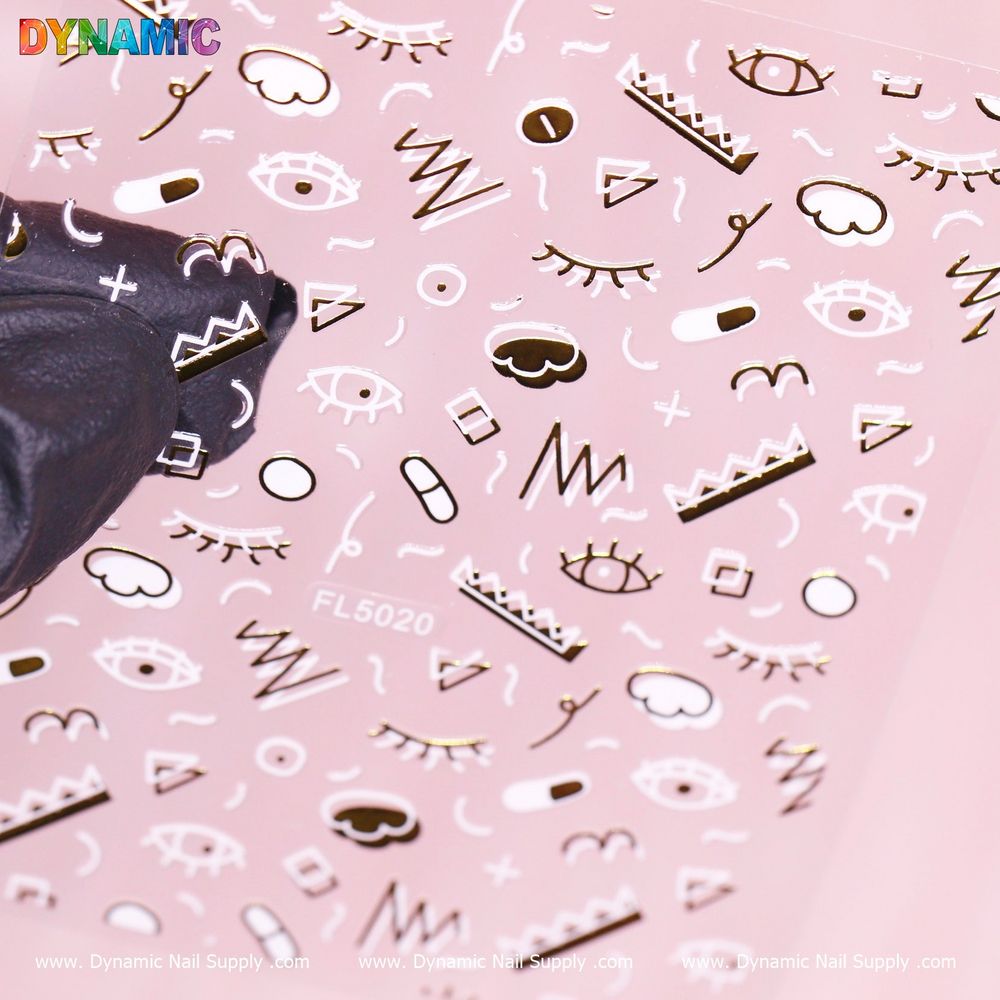
In the context of nail art, “hand-drawn” refers to sticker graphics that mimic the look of freehand illustration—small line details, imperfect edges, and whimsical motifs. On the product in question you’ll find tags that describe common motifs: cartoon faces, eye designs, gold accents, white elements, and zigzag patterns. These stickers are intended as decorative nail art enhancements rather than tools for structural nail work.
Essential terms to know
- Decal / Sticker: A pre-printed piece of art designed to adhere to the nail surface.
- Base coat: A protective polish applied before any decoration to protect natural nails.
- Top coat: A clear polish applied after decoration to seal and protect the sticker.
- Placement: The act of positioning the sticker on the nail surface for the desired look.
Step-by-step application for beginners
Follow these steps to apply hand-drawn nail stickers cleanly and with minimal fuss.
- Prep the nail: Start with clean, dry nails. Gently push back cuticles and lightly buff the surface to remove oil and shine so the sticker adheres better.
- Apply a base coat or polish: If you want a colored background, apply polish and let it dry until tacky but not wet. A neutral or white base can make cartoon and gold details pop.
- Remove the sticker carefully: Use tweezers or a fingertip to lift the sticker from its backing. Avoid touching the adhesive side with oily fingers.
- Place the sticker: Position the sticker on the nail and press gently from the center outward to avoid bubbles. Adjust the placement quickly before the adhesive sets.
- Trim or file excess: If the sticker overhangs the free edge, carefully trim with small scissors or file the edge in a downward motion to prevent lifting.
- Seal with a top coat: Apply one or two layers of top coat to lock the sticker in place and smooth any edges. Let it dry fully to maximize longevity.
Practical tips and common troubleshooting
- Bubbling or lifting: Press firmly after placement and seal with a top coat. If a small bubble appears, smoothing with a toothpick before sealing can help.
- Short nails or curved edges: Choose smaller motifs or trim stickers to fit. File excess carefully to follow the nail curve.
- Mixing with polish: Stickers work well on both bare nails and polish backgrounds; experiment with contrast—white or gold elements look striking on darker polishes.
- Layering: You can layer stickers or combine them with hand-painted accents, but always seal each layer with a thin top coat.
Key features in context
Use the product tags—cartoon, drawing, eyes, gold, white, zigzag—as a quick checklist when planning a look. Cartoon and eye motifs give playful focal points; gold accents add brightness and contrast; white and zigzag elements are great for geometric or minimalist designs. These features let you create fun, personality-driven manicures without needing advanced nail art skills.
Who should use hand-drawn nail stickers?
These stickers are ideal for:
- Complete beginners who want expressive nail art without freehand drawing.
- DIYers who need a quick accent for a single nail or full set.
- Seasonal or trend-focused stylists who want an easy way to incorporate bold motifs like cartoon eyes or zigzags.
The product is budget-friendly, offered at $2.00 at the time of listing, though prices may change.
Care and safety notes
- Allow full drying: Let the top coat cure thoroughly before exposing nails to water or heavy use.
- Gentle removal: Use an oil-based remover or soak in warm, soapy water to lift stickers without aggressive scraping.
- Skin contact: If adhesive contacts sensitive skin, wash the area with soap and water. Stop use if irritation occurs.
Quick styling ideas to try
- Single accent: Place a cartoon-eye sticker on the ring finger and paint the rest a complementary solid color.
- Mixed motifs: Combine a gold accent sticker with white zigzag pieces for a layered, modern look.
- Minimalist pop: Use a tiny eye or simple drawing near the cuticle over a nude base for subtle flair.
Hand-drawn nail stickers are a low-commitment way to expand your nail art repertoire. With basic prep, careful placement, and a good top coat, beginners can achieve playful, attention-grabbing results. If you like this aesthetic, check availability from Dynamic Nail Supply or the specific listing for the product to get started.