
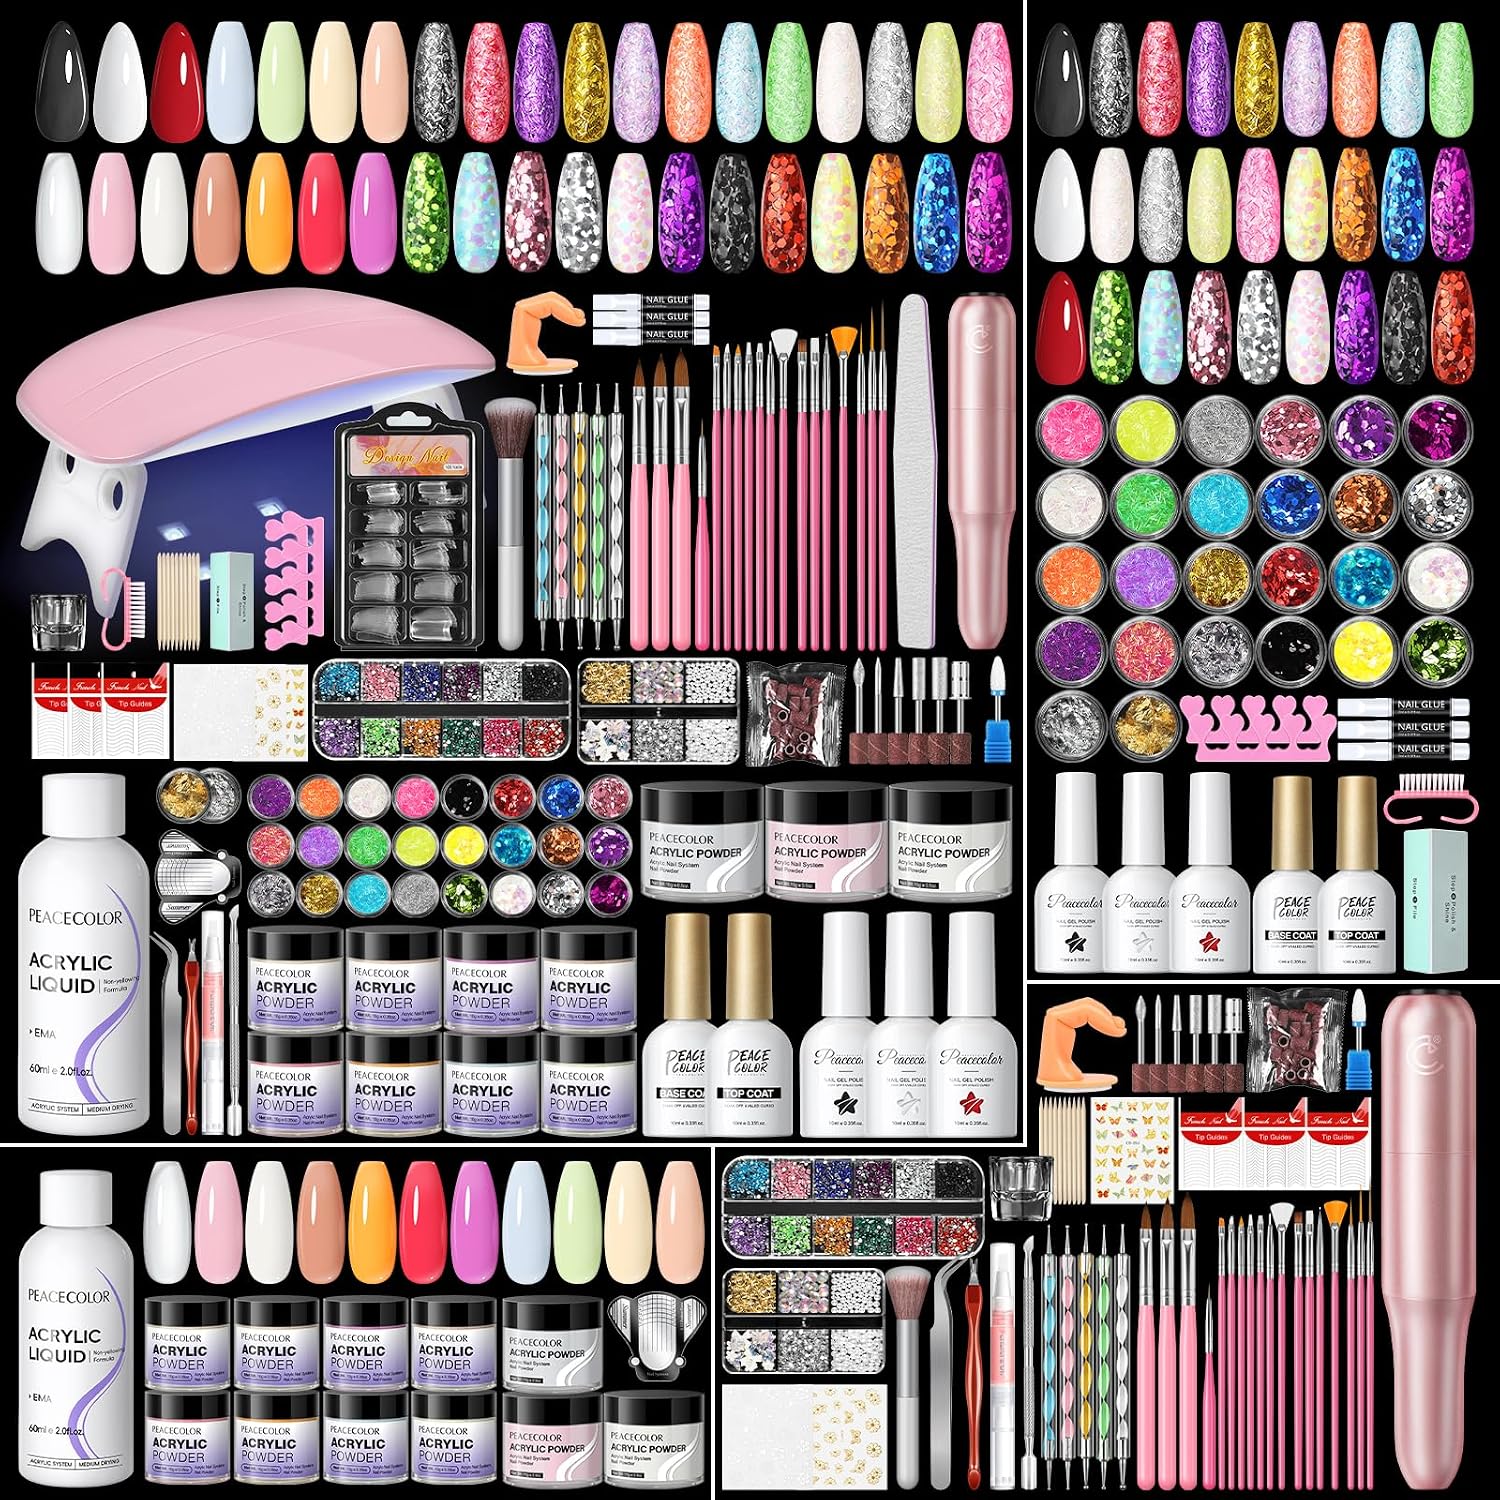
An acrylic nail kit with drill bundles essential tools and supplies so you can create salon-style nails at home. This guide explains what to expect from a full 70-piece beginner kit, how to use the included tools, and practical tips to get reliable results without guessing which items are needed.
What’s included in a typical 70-piece acrylic kit
Starter kits that advertise “everything” tend to group supplies so that a full manicure or set of extensions can be completed without hunting for extras. A representative kit of this type includes:
- Nail drill with seven drill bits for shortening, shaping, polishing and removing gel nails.
- Mini UV lamp to cure gel polish, base coat and top coat.
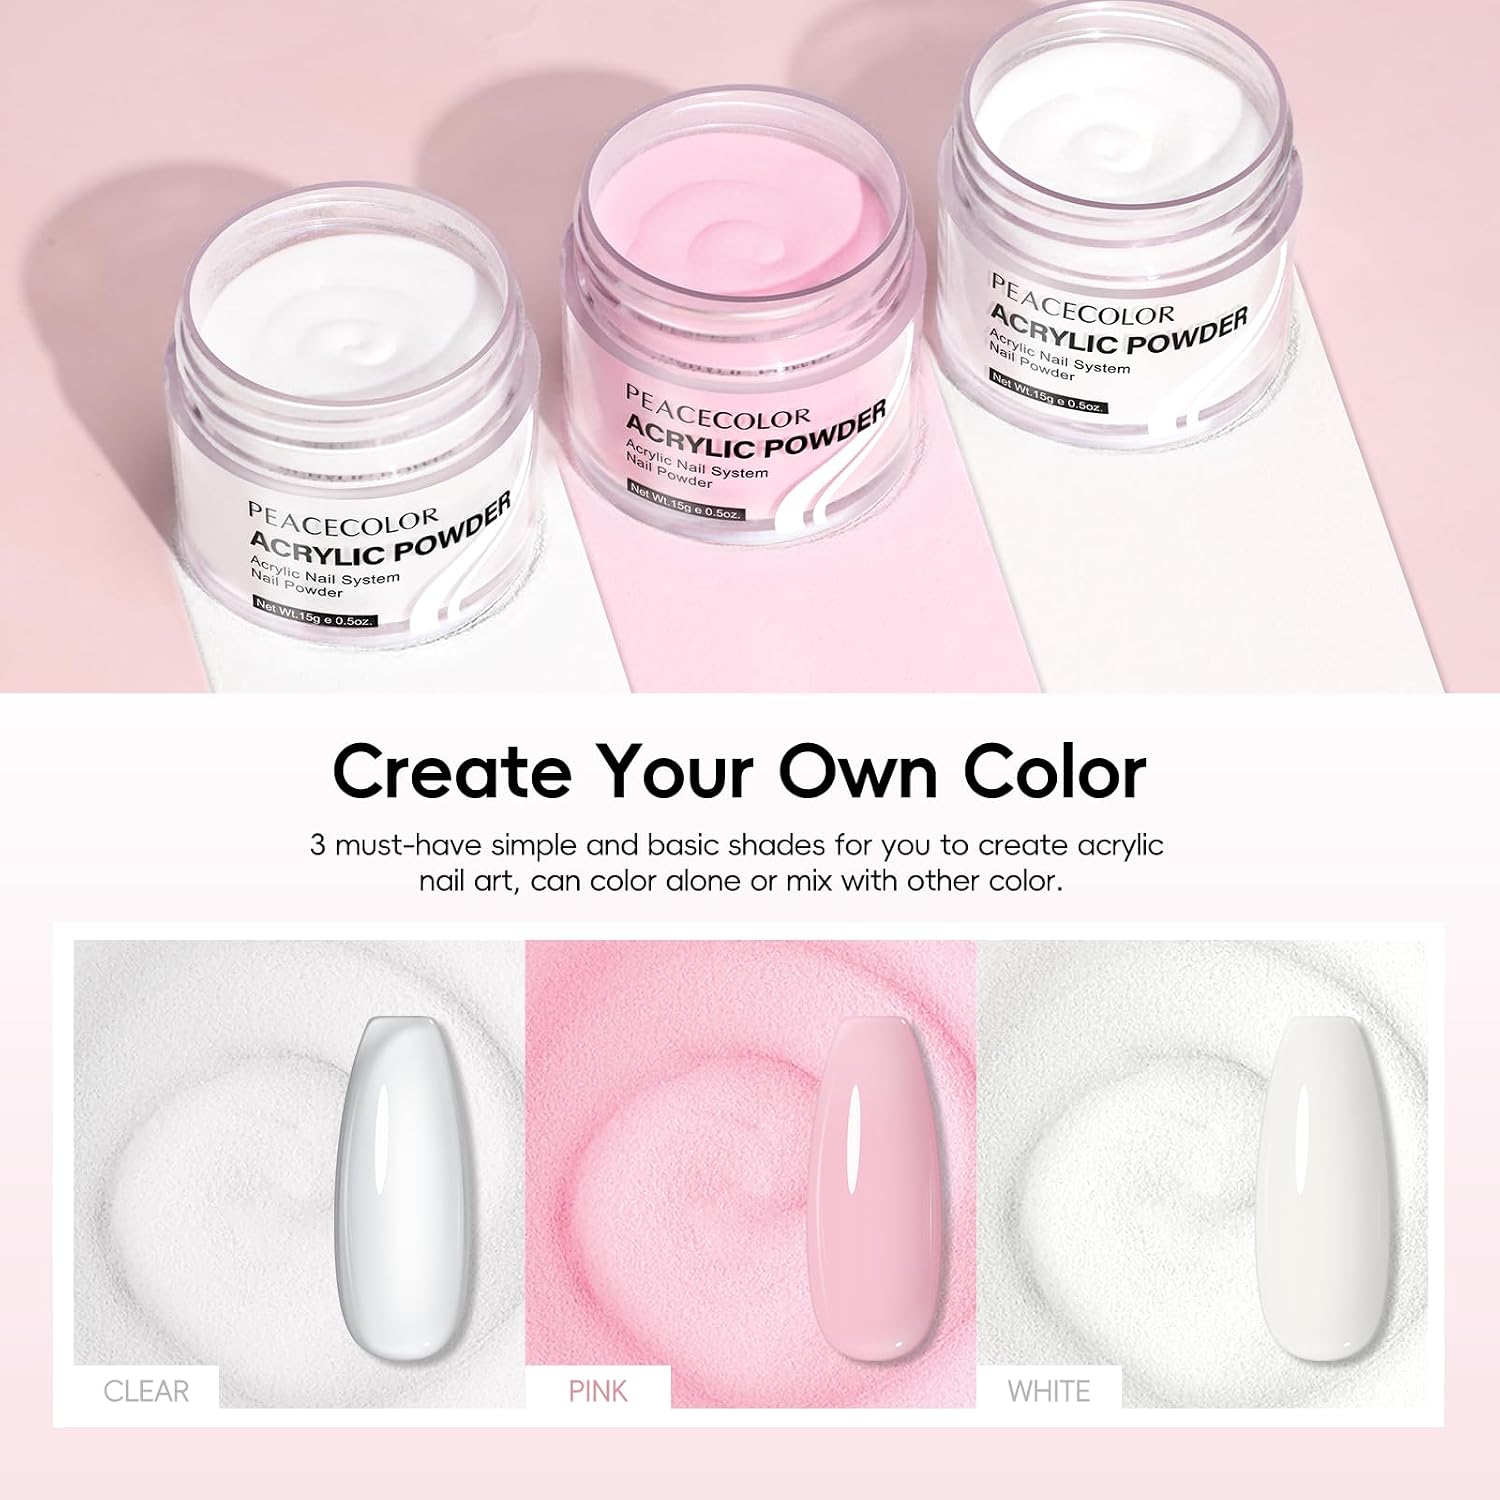
- Acrylic powders — multiple shades (for example, 11 colors) plus 24 glitter powders for decorative effects.
- Gel polish — a few color gels (for example, three) to use under the lamp.
- Nail tips and tools — hundreds of tips (for example, 100pcs) and brushes (for example, 18 brushes) to shape, apply and finish extensions.
- Embellishments such as rhinestones and other nail art accessories, plus base and top coat.
Key features explained
Understanding each major component helps you plan how you’ll use the kit:
- Nail drill with 7 bits: Bits vary in function — shortening, smoothing and gentle removal. Having a set of bits lets you handle multiple steps with one tool.
- Mini UV lamp: The compact lamp included is designed to cure gel products like color gels, base and top coats.
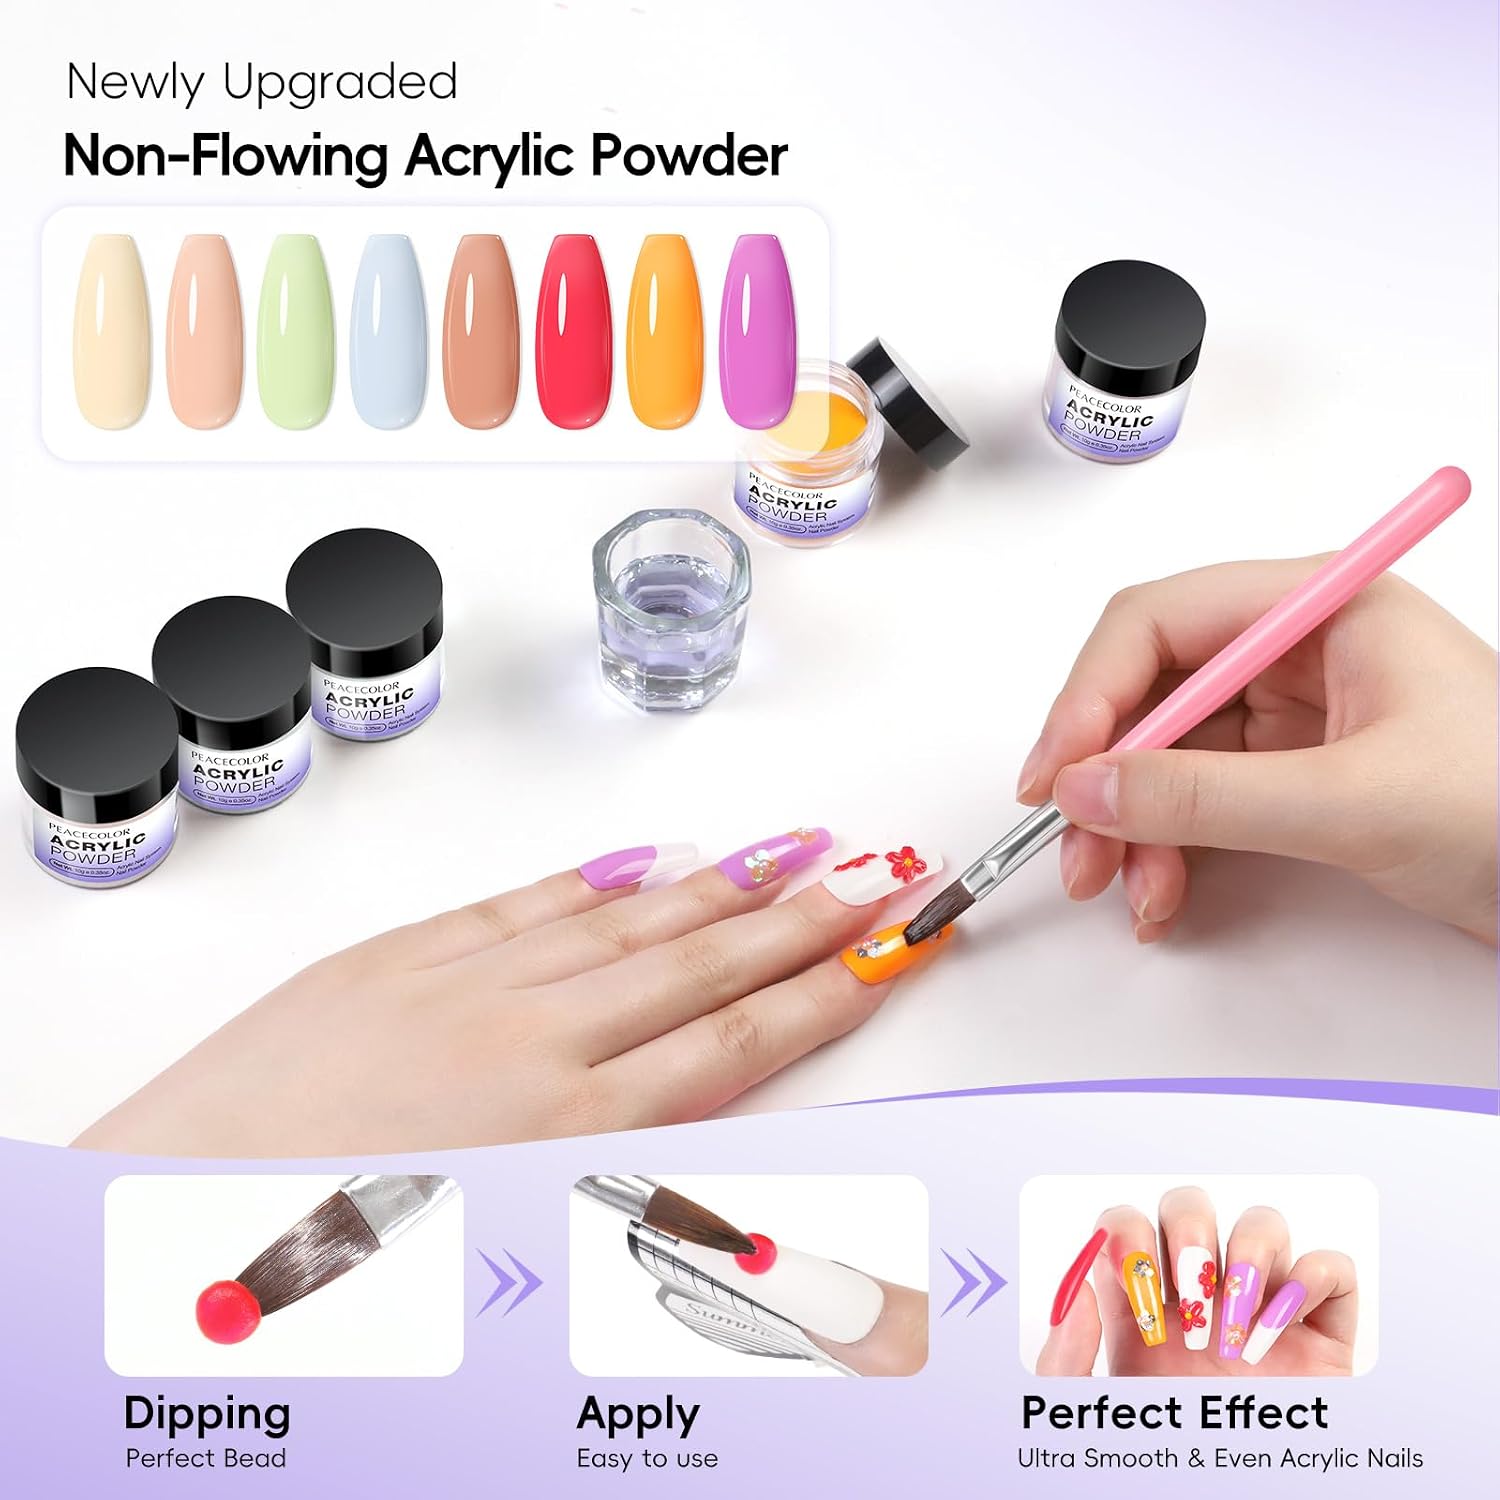
- Variety of powders and gels: Multiple acrylic powder shades and glitter options provide creative flexibility for French, ombré, 3D carving and glitter effects.
- Brushes and tips: A large set of brushes supports detailed work and application of acrylic when combined with acrylic liquid; tip counts allow for many practice applications.
- Salon-style aim: The powders in the kit are formulated for self-leveling and adhesion, and when used with acrylic liquid they help reduce yellowing and dulling.
Step-by-step: basic workflow for acrylic extensions
The following sequence describes a common beginner workflow using the included items. Adjust settings and timing per the manufacturer’s specific instructions.
- Prep the natural nail: Clean, push back cuticles and lightly buff the surface to remove shine. Remove dust before application.
- Choose tips and fit: Select the correct tip sizes and glue in place if doing tip extensions, or prepare for sculpting with forms if applicable.
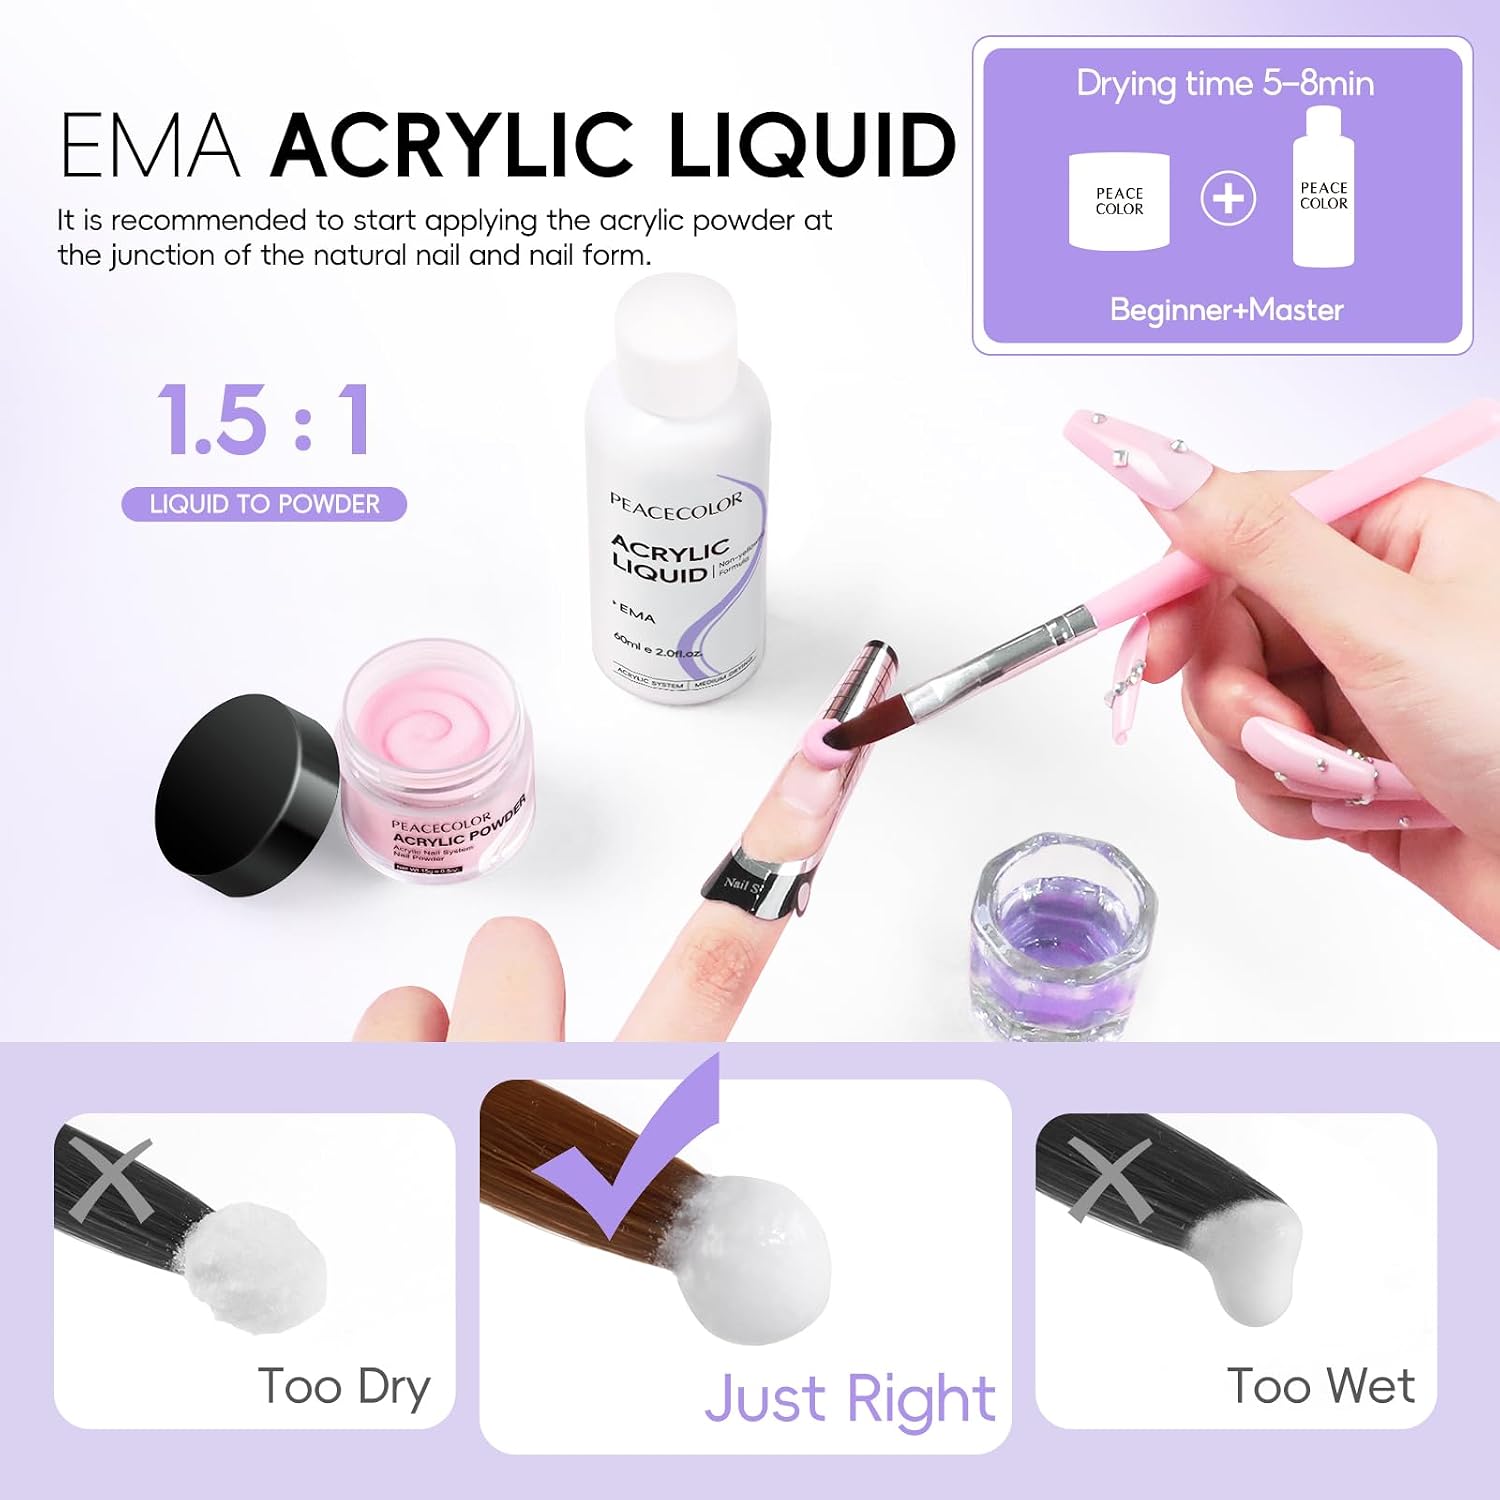
- Mix and apply acrylic: Use an acrylic brush and acrylic powder combined with acrylic liquid to build the extension or overlay. Work in small beads for control.
- Shape and refine: After the acrylic sets, use the nail drill and appropriate bits to shape and smooth the surface before polishing.
- Apply gel polish and cure: Paint base coat, color gel and top coat as desired and cure each layer under the mini UV lamp included in the kit.
- Finish with decoration: Add glitter, rhinestones or other embellishments and secure with top coat.
Practical tips for beginners
- Practice bead size and timing on a few tips before working on natural nails to build confidence with the acrylic liquid and powder mix.
- Store brushes and powders in a dry place and keep the working area clean to avoid contamination of acrylic materials.
- Use the drill bits as intended — select coarse or fine bits depending on removal or smoothing tasks and keep the tool speed moderate for better control.
Suitability and who benefits most
These kits are tailored primarily toward beginners and DIY nail enthusiasts. They provide a broad range of decorative materials and tools so you can learn basic extension, overlay and nail-art techniques without buying separate components.
The set also makes a convenient gift for someone learning nail art, thanks to fashion-style packaging and the variety of colors and accessories included.
Limitations and realistic expectations
- The mini UV lamp is intended for curing gel polish, base and top coat; it is compact and designed for home use.
- Although the powders are formulated for good adhesion and self-leveling, the kit references the use of acrylic liquid during application. Verify whether acrylic liquid is supplied or needs to be purchased separately for full acrylic application.
- Professional salons may use higher-powered lamps and more specialized drill bits for advanced techniques; at-home kits prioritize versatility and ease of use over specialized salon-only equipment.
Safety and care notes
Follow any manufacturer instructions included with your kit. As a basic safety practice, work in a well-ventilated area, avoid prolonged direct skin contact with liquid monomers, and use the drill at recommended speeds to prevent injury or heat build-up.
Useful additions and accessories to consider
Once you’re comfortable with the basics, accessories that commonly complement a starter kit include replacement drill bits, extra nail tips, a selection of rhinestones and a separate high-capacity curing lamp if you find the mini lamp limits workflow. If you want a professional bit option, a 5-in-1 cross cut bit can be useful for shaping and smoothing—5-in-1 cross cut drill bit
Price and final thoughts
The listed price at the time of writing is USD 34.99; prices may change. For beginners who want a one-box solution to try acrylic extensions, decorative powders and gel polish curing, a 70-piece kit that includes a drill and lamp provides most of the core items needed to start practicing at home. Be mindful of whether acrylic liquid is present or needs to be sourced separately, and take time to learn bead work and drill-bit selection to get consistent results.
Kit identification: The kit described here includes a compact nail drill with seven bits, a portable mini UV lamp, 11 powder shades plus glitter, three gel polishes, 100 nail tips, brushes and rhinestones — making it a comprehensive starter set for at-home nail art and extension practice.