
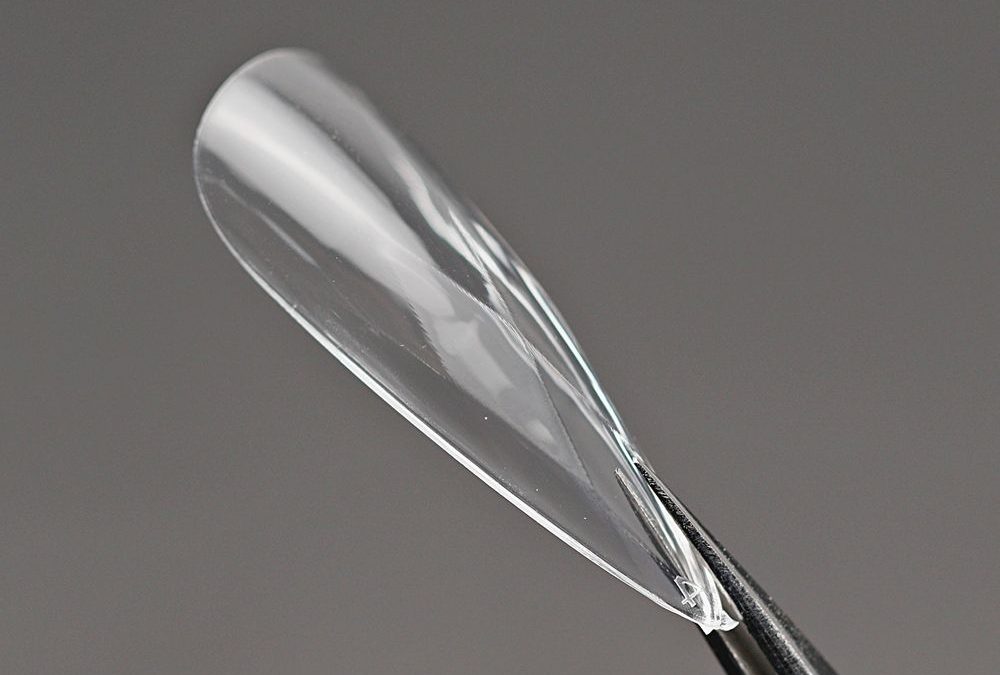
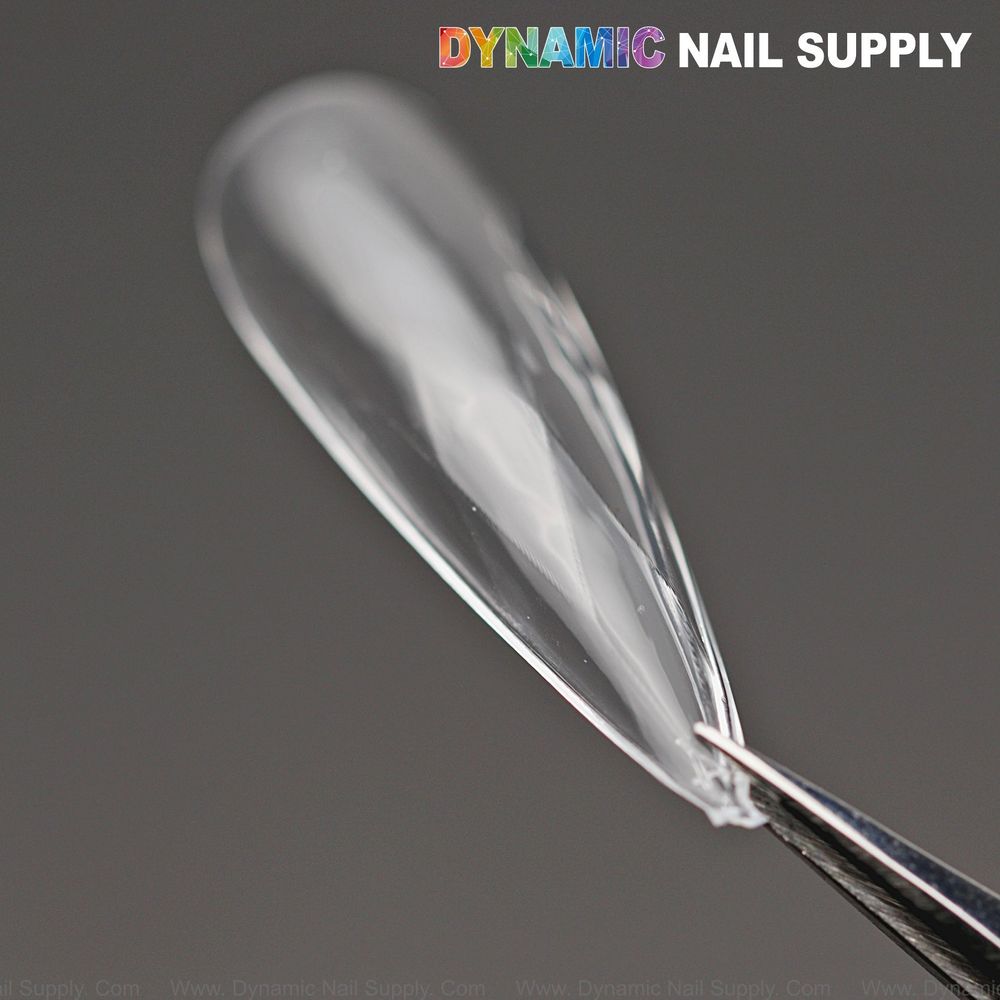
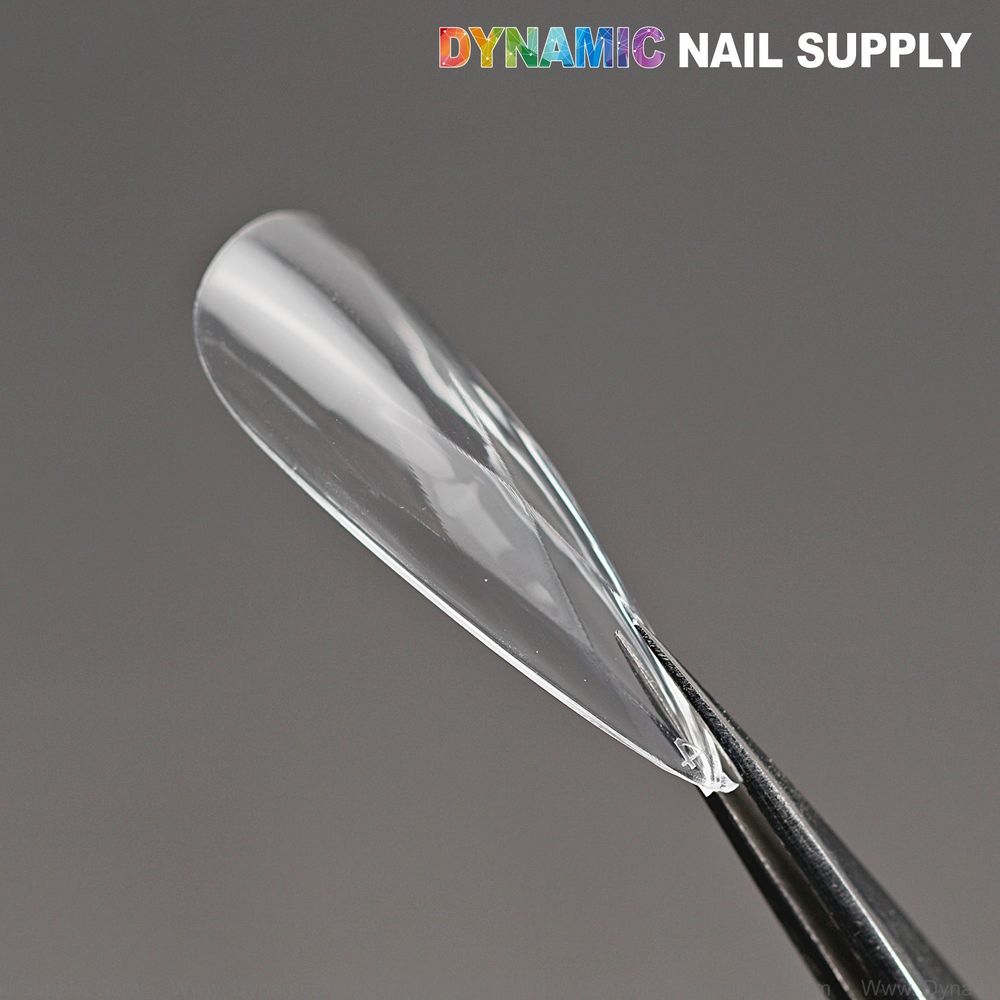
Quick comparison: these clear Long Stiletto 3D Diamond tips give a glossy blank canvas versus pre-colored tips that force a look. We prefer the clear stiletto base when a client wants crisp white lines, see-through French, or understated negative-space art that shows the raised diamond texture.
Prep: Fit, File, and Placement
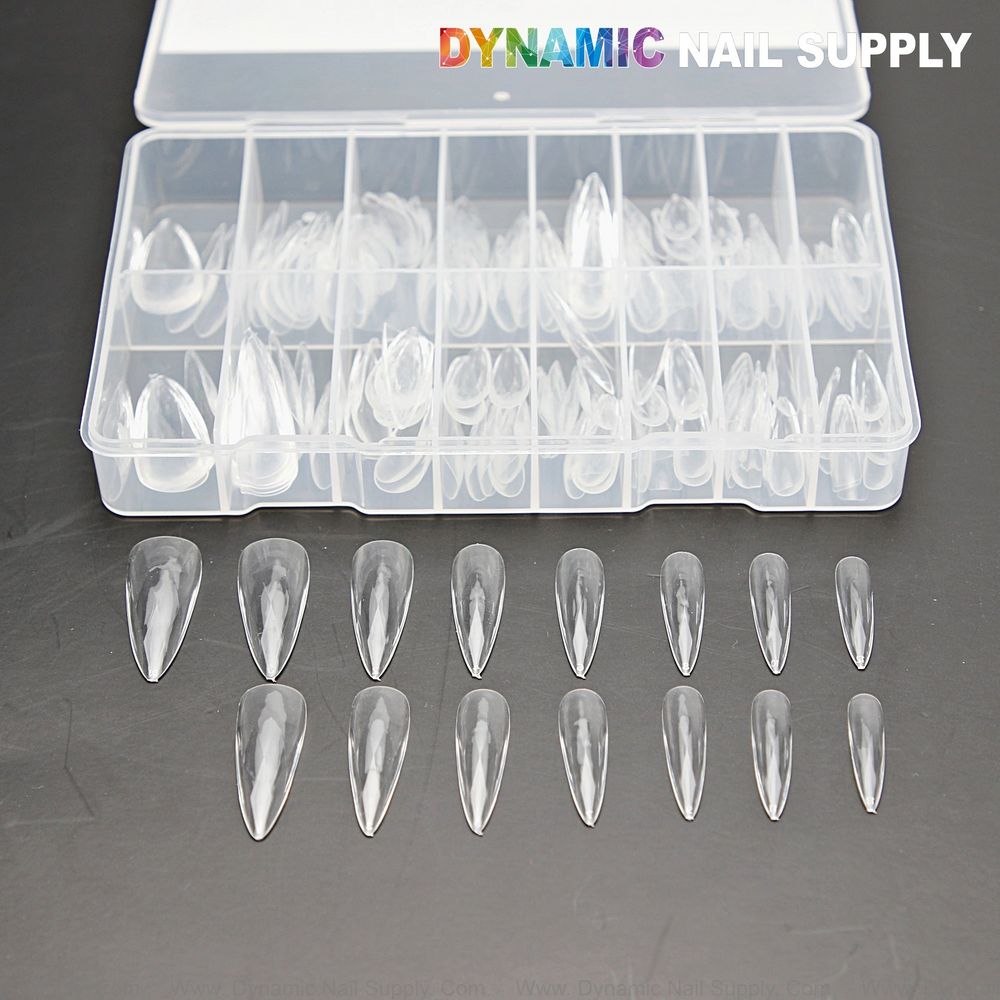
Pick a size that matches sidewall to sidewall. The set includes many sizes so we can find a nearer fit and reduce filing. A snug fit cuts down lifting and makes white lines cleaner. Trim the free edge if the length is too long for your client before glue.
- Why it matters: less bulk at the cuticle and sidewalls keeps the negative-space gap crisp.
- Which choice suits who: use the widest matching size for clients with broad nail beds; pick a narrower size when the client wants a tapered, almost floating look.
Prep: Surface and Adhesion
These tips come glossy and clear, so we lightly buff the natural nail to remove shine and push back cuticles for a flush seat. Use your preferred soft gel tip adhesive or nail glue following the adhesive instructions. Position the tip and press from cuticle to free edge to force air out.
- Why it matters: a thin cuticle edge on the tip helps the tip sit smoothly against the natural nail so negative-space lines meet the natural plate without gaps.
- Safety note: avoid contact of active glue with skin and follow manufacturer cure and ventilation guidance.
Tools & Products: Which Workflow to Choose
We use two main workflows for minimalist white-line and negative-space French: gel workflow and polish workflow. Both work on the clear glossy surface but each gives different control and longevity.
Gel Workflow
- What it is: builder or color gel thin coats, cured under an LED lamp.
- Why choose it: best for long-wear services and when you want clean, raised white lines that resist chipping.
- Which suits who: clients booking fills or long events, or when we plan to upsell a long-wear maintenance.
Polish Workflow
- What it is: regular or gel-polish applied and cured or air-dried accordingly.
- Why choose it: faster turnaround and simpler removal for clients who change styles often.
- Which suits who: quick-change clients, press-on artists, or at-home wearers.
Technique: Creating Minimalist White-Line & Negative-Space French
We follow a simple sequence so the diamond texture still reads beneath the design.
- Block the base: after adhesion and a tack-free cure or full dry, apply a very thin clear base gel or glossy topcoat to lock the seam—cure if required.
- Map the lines: use a fine striping brush or a micro-tape guide for consistent white lines. Place tape slightly inside the free edge if you want a classic french, or use a curved guide for half-moons.
- Paint the white: use a dense white gel or polish and drag a single steady stroke for the white line. Thin coats give cleaner edges; cure between thin gel layers.
- Reveal the negative space: remove the guide before final cure in gel workflows so no trapped residue dulls the clear field.
Why it matters: the clear, glossy long stiletto allows thin white lines to sit above the faceted pattern without hiding the texture. The raised diamond texture gives subtle light play around the white strokes—use that to our advantage rather than cover it.
Styling Ideas & Upsells
We sell upgrades around negative-space clear stiletto nails by offering small add-ons that fit the clear base.
- White-line deluxe: add a micro shimmer inside the white line for photos—small fee.
- Minimal charms: place a single rhinestone at the negative-space notch for an elevated but subtle look.
- Translucent undercolor: offer a sheer jelly tint under the clear tip for clients who want a hint of color while keeping negative space.
Pro tip: For faster, repeatable results, pre-cut guide tape to the stiletto point and store with the tip kit so each fill is consistent.
Finish & Durability
Seal with a high-gloss topcoat for maximum shine and to protect the white strokes. If using gel, cure fully and wipe with cleanser if the topcoat leaves a tacky layer. The reinforced free edge of these tips helps resist tipping and breakage on long stiletto lengths.
Cleanup & Aftercare
Advise clients to avoid opening packages or picking at the white lines for 24 hours. Recommend light oiling around the cuticle to keep the seam flexible and reduce edge chipping. If a tip lifts at the sidewall, remove and replace rather than patch for the clean negative-space effect.
Pro tip: Photograph the set on the translucent milky storage box background to show clients how the clear tip reads before any color is applied.
These clear long stiletto tips are ideal when a client wants striking length but a minimalist graphic finish. The set is organized by size in a compartment box so we can work quickly in-salon. Prices may change, current price listed at $10.
Pair it with the long stiletto diamond tips for a seamless service add-on that highlights the pointed silhouette and diamond texture.